
I began by creating a cylinder and reducing its subdivision axis to 6 to give it the same shape body as the X-Wing.


I created the cockpit by using the edge loop tool to create more edges. By using the move tool on the newly created edges, I was able to create the "slope" on top of the base to give the shape of a cockpit.

To create the laser cannon of the ship, I created a cylinder. To manipulate the shape of it, I used the edge loop tool as well as the extrude tool to create the thin and thick parts of the shape. I found this was much more effective than what I did with the Z95 HeadHunter which was just creating multiple cylinders and resizing them.

To create the curled "C" shape of the laser cannon, I used the bend tool to bend a cube into a "C" shape. To do this I first had to create a cube and set its height subdivisions to 6. I then changed to the animation menus. From there I went to Create Deformers > Nonlinear > Bend. In the attribute editor, I had to modify the curvature till I got the result I wanted.


After I added some detail onto the wings, I ran into some issues with the three other wings after duplicating them and getting them into the correct rotation after being placed in the different positions.
One way I found which helped me overcome my problem when flipping the wing is to set its scale to a negative value. The problem I encountered with this however is that all the faces could be flipped inside out which would cause the wing to turn black as shown in the image below.

To overcome this I found that if you highlight all the faces of the wing and go to Normals > Reverse in the menu, it flipped the faces so they faced the right way.

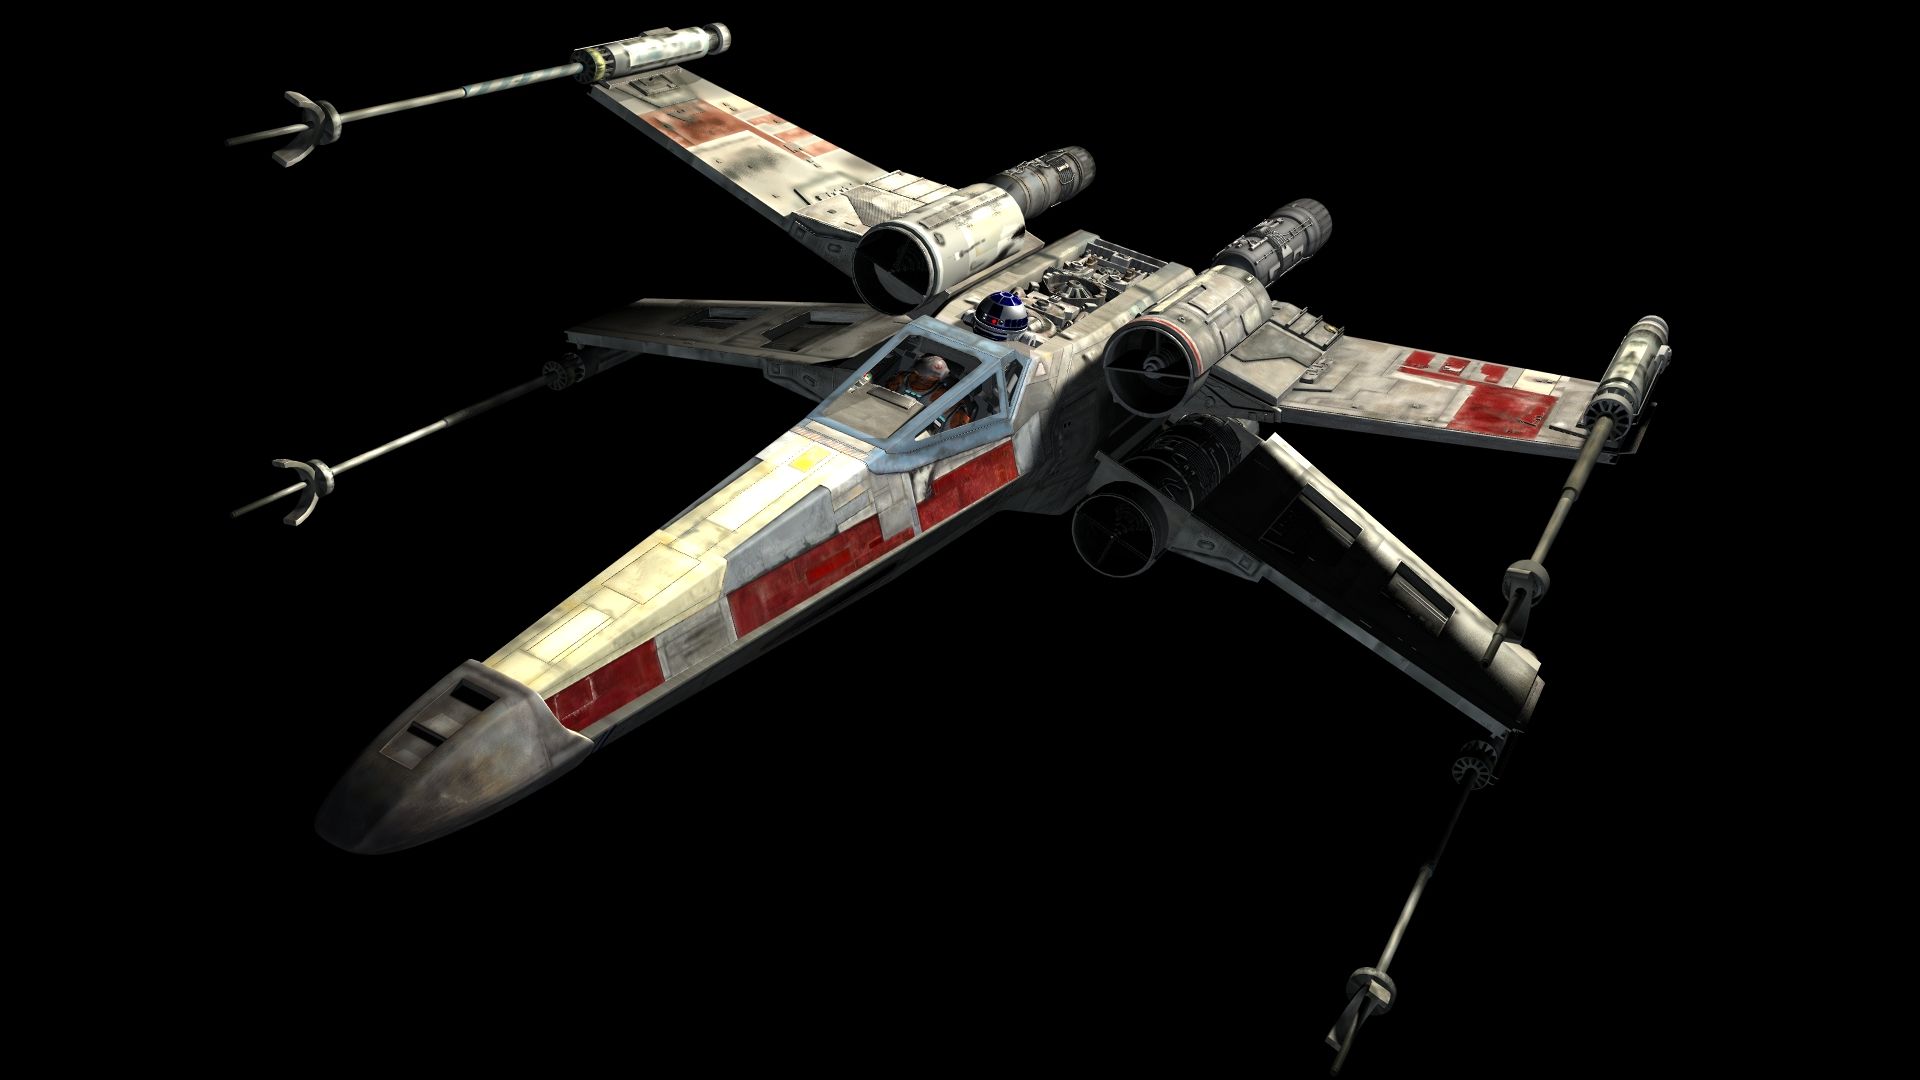
After creating the four engines and adding in some extra details, I had completed modelling the ship.

No comments:
Post a Comment